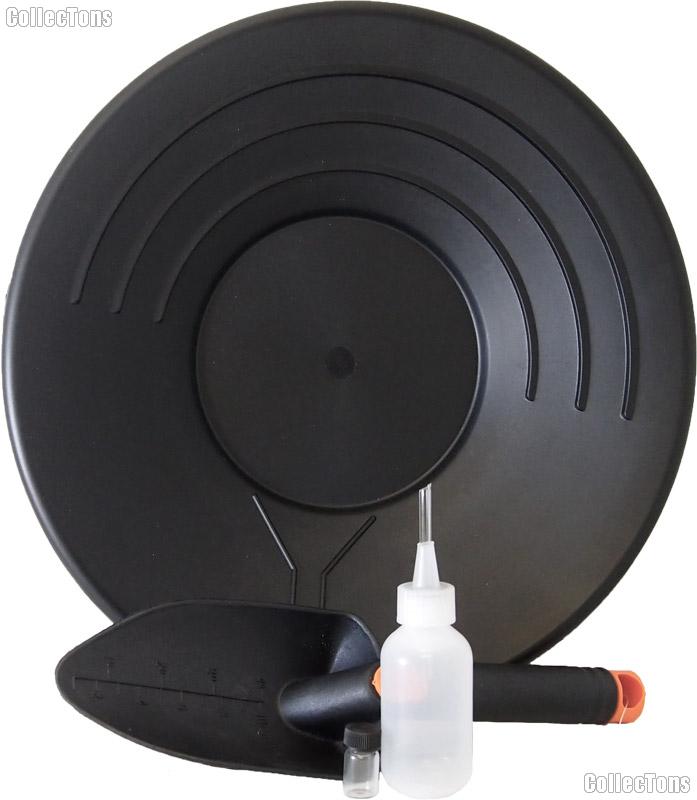
We are pleased to offer for sale this 14" Gold Pan Set - Equipment for Prospecting. This Gold Panning Set includes one 14" Black Gold Pan, one 11" Trowel, one 2 oz Snuffer Bottle, and one Glass Vial. This black plastic Gold Pan is designed with ridges to trap fine gold or other heavy minerals. The material used in this Gold Pan is heavy duty high impact plastic. This Gold Pan is 14" in diameter and 2 1/2" in depth. The Small Shovel for Prospecting, is made of heavy duty nylon, and has depth measurements inlcuded on its face. The Snuffer Bottle holds a maximum of 2 fl oz, and is precisely constructed for longevity and ease of use. The Glass Vial is 1" tall and 9/16" in diameter and has a volume of 0.1 fl oz. These 14" Gold Pan Starter Sets are new from our inventory.
Where can you find gold? With the right setup, some basic knowledge, patience, a little luck, and the right equipment, you can find gold in many places across the U.S.
Use classifier(s) to selectively filter out particles of different sizes. We recommend pouring into a 5 gallon bucket. Most prospectors that use these mesh strainers check through each layer for possible gold nuggets in with the rocks and debris and then scour the residual in their gold pan.
Shovel a small amount of strained material (4-5 handfuls) into your Gold Pan. Make sure all material in the pan is wet (It is advised that you keep the pan underwater while panning). Break up any clumps of material, and remove any rocks that you have not filtered out.
Swirl the Gold Pan in a counter-clockwise motion. Swirling does two things: I. Allows gold to begin settling at the bottom of the Gold Pan. II. Brings unwanted dirt and gravel to the top of the Gold Pan.
After swirling, switch motion to a gentle "side to side" motion which helps with the gold settling to the bottom of the Gold Pan.
Tip your Gold Pan and allow the water current to rinse off the top layer of dirt and gravel. **Be careful to only rinse one layer at a time, gold could be washed away if too much material is rinsed at once.
Slowly move your Gold Pan forwards and backwards to assist in the washing away of unwanted materials.
Repeat steps 2 through 5 until you only have a few spoonfuls of material left in your Gold Pan. This material usually looks like black sand.
Look in your pan for gold flakes or slivers. If they are present, swirl hard enough to keep them collected at the bottom of the Gold Pan.
Collect your GOLD with your snuffer bottle and celebrate!!
 Check Out (
 Click for Larger images